
Honey Maid product guide · 12 min read
A box of graham crackers can take a few different routes through your kitchen. Whole sheets hold a warm marshmallow. Smaller pieces fit beside fruit. Fine crumbs become the base of a pie or cheesecake. The useful starting question is what texture you want when the food reaches the table.
This guide helps you choose a Honey Maid pack and work with the crackers once it is open. It covers practical preparation choices, rather than a single finished recipe. When you make a specific dessert, follow that recipe’s measured ingredients, pan size, cooking method and storage instructions.
Choose the format first
Start with the way you will use the crackers. Honey Grahams Party Size is a 28.8 oz box of classic sheets. It is a convenient format when several people will be making s’mores, or when you need to crush crackers for a dessert. You can break the sheets along their scored lines before setting them out.
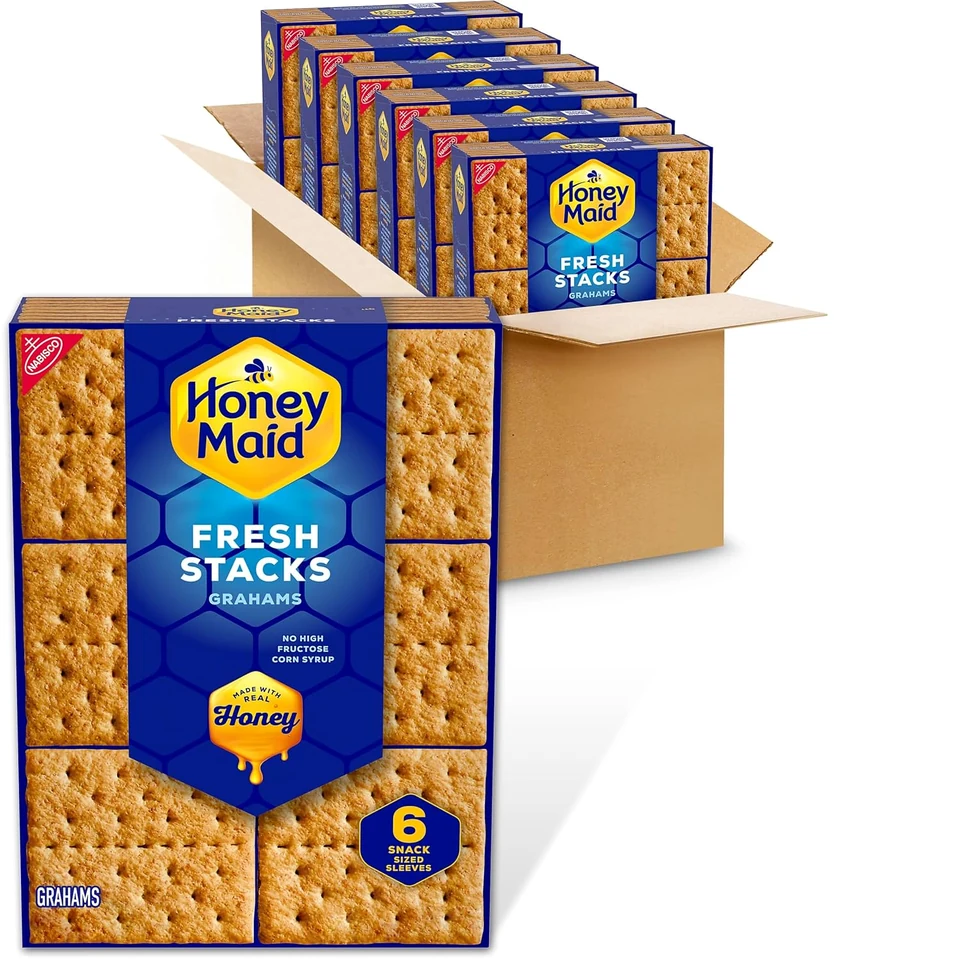
Fresh Stacks puts smaller wrapped stacks inside the box. Each 12.2 oz box holds six wrapped stacks. That format is useful when you want to open some crackers and leave the others sealed, or carry a wrapped portion away from home. Once a wrap is open, close the remaining crackers in a suitable container.
The six-box Fresh Stacks packs contain 36 wrapped stacks altogether. Compare that quantity with your actual routine. A bulk pack may suit several regular snack spots, while one box is easier to try if the flavor is new to you. More boxes are only useful if you have somewhere dry to keep them and expect to use them.
Flavor is a separate choice from format. Honey grahams work with chocolate, marshmallow, fruit and many creamy fillings. Chocolate Fresh Stacks bring cocoa flavor to the cracker itself. Think about the complete bite: chocolate crackers with a chocolate filling give a different result from chocolate crackers with plain yogurt or strawberries.
Compare the current graham cracker packs. Check the exact box count in the product title and the offer you open. Similar package photographs can represent a single box or a case of several boxes.
Read the label you have
Keep the package nearby while you plan. Graham flour is whole grain wheat flour, so graham crackers are not a wheat-free choice. Other ingredients and allergen statements can differ between flavors and packages. The ingredient panel on the box you receive is the most useful reference for the food you are about to serve.
A wrapped stack and a nutrition-label serving are not interchangeable terms. Look at the serving weight and the number of cracker pieces stated on your package. If you are measuring a snack, count or weigh that amount instead of assuming that an entire inner wrap is one serving.
When sharing food, leave the label available for anyone who needs to check it. A short description such as “chocolate graham crackers” cannot replace an ingredient list. Keep toppings in separate bowls, give each bowl its own utensil, and let guests assemble their own portions when that makes the choices clearer.
Fresh fruit, dairy fillings and other additions introduce their own storage needs. A dry cracker can sit in the pantry, but a dessert made with perishable ingredients must be handled according to the recipe and those ingredients. Plan where the finished dish will go before you start mixing or assembling it.
Set up a s’mores station
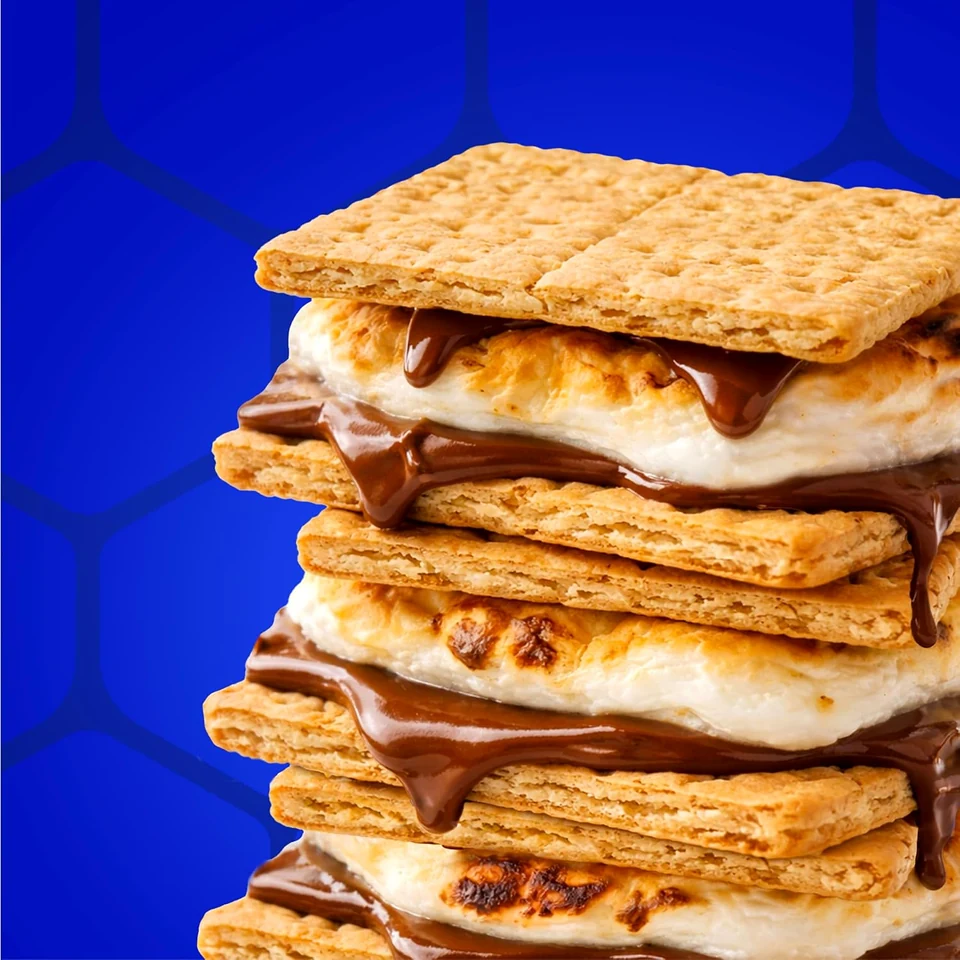
For a classic s’more, start with one full graham sheet split into two matching halves. Place chocolate on one half and keep the other within reach. Add a warmed marshmallow, then bring the top cracker down gently. Let the filling cool enough to eat before taking a bite.
Doing the cold preparation first makes the warm part easier. Break the sheets, open the chocolate, lay out plates and clear a landing space for the cooked marshmallows. You should not need to search through a cupboard while holding a hot roasting stick.
Thin pieces of chocolate soften more readily against a warm marshmallow than a large, thick chunk. Fit the chocolate inside the cracker edges so that the sandwich closes evenly. If the pieces are much larger than the cracker, break them down before heating anything.
Press just enough to hold the sandwich together. A forceful squeeze can break the crackers and send filling out of the sides. For younger eaters, make a smaller portion and let an adult handle the hot filling. Toasting equipment, open flames and heated pans all need close supervision.
Indoor methods depend on your appliance and the recipe you choose. Ovens, broilers and microwaves heat differently, so a time from one method should not be carried over to another. Use a recipe written for the appliance, follow its instructions, and watch closely rather than walking away.
For a group, count one sheet per planned classic s’more and set aside extra crackers for breakage. Count marshmallows separately, then divide the chocolate into pieces that fit. This is a portion-planning method, not a promise about how many whole sheets will be in a particular box.
Offer one or two optional additions instead of filling the table with choices. Thin strawberry slices or a small spoonful of a familiar spread can change the bite without making assembly difficult. Account for the ingredients and allergens in every addition, and keep the station tidy as people use it.
Make even graham crumbs
The texture of the crumbs affects how a crust holds together. Large pieces leave gaps, while fine crumbs pack into a more even layer. Before adding butter or another binder, inspect the dry crumbs and break down any pieces that are visibly larger than the rest.
A food processor is useful for an even texture. Break the sheets into smaller pieces first, then pulse rather than running the machine continuously. Stop to look at the mixture. A few larger pieces can remain hidden near the edge of the bowl, especially if it is very full.
A sturdy food bag and a rolling pin also work. Put a manageable amount of crackers in the bag, press out excess air and close it. Set the bag on a stable surface, then roll or press over the pieces. Keep the bag flat enough that you can see which areas still contain chunks.
Avoid filling the bag so tightly that the crackers cannot move. Work in batches if needed. Check that the bag has not split before pouring the crumbs into a bowl, and keep any small packaging fragments away from the food.
Measure the finished crumbs in the way your recipe specifies. Weigh them when a weight is given. When a recipe gives a volume, use that amount of prepared crumbs rather than substituting a guessed number of sheets. Sheet size and the amount left in broken pieces can affect that shortcut.
Set aside any extra dry crumbs before adding the binder. Plain crumbs are easier to use later as a topping or another recipe ingredient. Once they are mixed with melted butter or another ingredient, they belong to that particular recipe and its storage instructions.
Build a more even crust
Choose a complete crust recipe that fits your pan and filling. A shallow pie plate, a deep pie plate and a springform pan do not need the same amount of crumb mixture. Increasing only the filling can leave you with a thin base or sides that do not reach high enough.
Mix the dry crumbs thoroughly with the recipe’s other dry ingredients before adding the binder. Then stir until the moisture is distributed throughout. Look for dry pockets at the bottom of the bowl and along the sides. A mixture that seems ready on top may still be uneven underneath.
Put the mixture into the pan and distribute it loosely before pressing. Move some toward the sides and some across the base. This first pass makes it easier to avoid a thick mound in the center and thin patches at the edges.
The flat bottom of a measuring cup can help press the base evenly. Use gentle, steady pressure rather than pounding. For the sides, use your fingers or a smaller tool that fits the curve. Keep the rim reasonably even so it is less likely to crumble during serving.
Follow the recipe’s baking or chilling step. Some fillings need a baked crumb crust; others are designed for a chilled base. A crust that feels firm before filling may behave differently after several hours in contact with a moist mixture. The complete recipe should account for both parts.
Let a baked crust reach the temperature specified before adding the filling. Pouring a cold or delicate filling into a hot shell can change its texture. Set the pan on a stable surface while it cools, and leave yourself enough time for any later chilling stage.
For cleaner portions, follow the finished dessert’s setting time before slicing. Use an appropriate knife, wipe it between cuts if the filling sticks, and support the first slice carefully. A good crust is only one part of a dessert that serves neatly.
Use crackers in chilled layers
In a chilled layered dessert, graham crackers take up moisture from the ingredients around them. Whole sheets that begin crisp can become soft enough to cut with a fork. That change is useful when you want a cake-like layer without making a baked sponge.
Use a recipe designed for this kind of dessert, because the balance of filling, crackers and resting time matters. A very wet filling can soften the crackers quickly. A thick filling may leave some layers firmer than you expected, particularly where the surfaces are not in full contact.
Arrange the crackers to cover the base of the dish with small gaps. Break pieces to fit around the edges. Avoid building several extra layers in one corner just to use up broken pieces, since an uneven thickness makes the finished portions harder to cut consistently.
Spread the filling gently over each layer. If a cracker moves, hold it lightly with a clean utensil while you spread. Keep enough filling for the final layer instead of using most of it at the beginning. A quick plan for the number of layers helps.
Cover and refrigerate the dish according to the recipe. Leave room in the refrigerator for the pan before assembly, and use a dish that can move safely from the counter to the shelf. Add toppings that should stay crisp closer to serving time.
When choosing a flavor, think about the filling’s strength. Honey grahams let fruit and cream remain prominent. Chocolate grahams bring another cocoa note. Either way, a simple filling can make the cracker flavor easier to notice than a mixture with many competing additions.
Make a snack plate with contrast
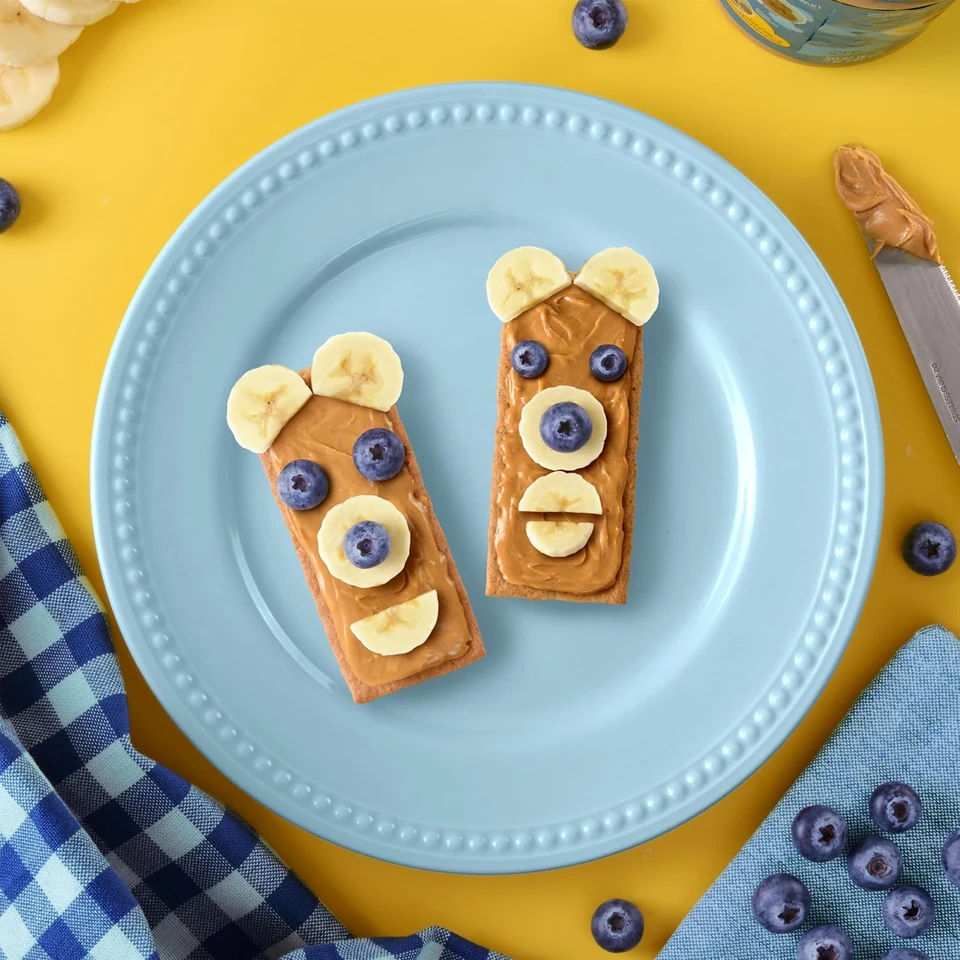
A snack plate can be as simple as graham pieces, sliced fruit and a small portion of yogurt. The useful contrast is crisp beside soft, or lightly sweet beside tart. You do not need to turn every snack into an elaborate recipe.
Cut fruit into pieces that are easy to lift and eat with the crackers. Dry washed fruit before putting it beside them, and leave very juicy pieces in a separate bowl. A wet patch on the plate can soften the crackers before anyone reaches for them.
If you add a spread, use a thin layer first. A thick mound can make the cracker awkward to bite and may require more pressure than the sheet can take. Put extra spread in a small bowl so people can add the amount they prefer.
For a bowl of yogurt or ice cream, keep the graham pieces separate until serving. Stirred-in crumbs soften quickly, which may be welcome if you want an even mixture. Scattered-on pieces stay distinct for longer and give a more noticeable crunch.
When packing a snack away from home, separate dry crackers from moist ingredients. Fresh Stacks makes the dry part convenient to carry, but the wrap does not change the storage requirements of fruit, yogurt or other additions. Pack and keep those ingredients appropriately.
A small plate also makes it easier to see the portion you are serving. Read the nutrition label when portion size matters to you, and account for the toppings separately. The number of foods on a plate does not by itself tell you the amount of any ingredient.
Keep the crunch between uses
Close crackers promptly after opening them. Air and moisture can change their texture, and a loosely folded inner bag may not keep them as crisp as a well-closed container. Choose a container that holds the crackers without crushing them when the lid closes.
Store unopened packages according to the instructions on the box. For a bulk purchase, keep the outer package information until you have used the inner boxes. That makes it easier to check the date, flavor and product details without relying on memory.
Use older open crackers first when their condition is still suitable. A small amount of breakage can work well for crumbs, but do not use a dessert recipe to disguise food that is damp, damaged, smells unusual or otherwise seems unsuitable to eat. Follow the package guidance.
For planned baking, make the crumbs close to the time you need them, or store dry prepared crumbs in a clean, closed container according to your recipe’s guidance. Keep them away from moist fillings until you are ready to mix. Label the container if different flavors are in use.
Solve the texture problem
If a crumb crust falls apart, first look at the recipe and preparation. Were the crumbs fine and evenly moistened? Was the specified amount of binder used? Did the crust receive its full baking or chilling step? Adding more of an ingredient at random can create a different problem.
If the crust is unusually thick in one area, distribute the mixture more evenly before pressing the next one. Use the pan size called for in the recipe. A smaller pan can make a measured amount of mixture form a much thicker layer than intended.
If crackers soften too soon on a snack plate, look for moisture from washed fruit, a wet plate or a spread applied far in advance. Assemble closer to serving time, dry the plate, and keep the wet ingredients separate until the last useful moment.
If a layered dessert still feels crunchy where you expected softness, check the resting time and the contact between filling and cracker. Give the recipe the full recommended time before judging its final texture. For the next attempt, spread each layer evenly rather than leaving uncovered patches.
If a s’more breaks during assembly, try smaller filling pieces and gentler pressure. Match the cracker halves, place the chocolate inside the edges, and set the sandwich on a plate while the filling settles. An overfilled cracker is harder to handle even when every ingredient tastes good.
Plan one box around your week
Decide on the main use before opening a new package. If a dessert needs a measured amount of crumbs, reserve that amount first. The remaining crackers can become snacks or s’mores, without discovering halfway through preparation that the box is almost empty.
For a gathering, keep preparation and serving separate. Measure and crush crumbs ahead when your recipe permits, portion chocolate for s’mores, or set out clean serving bowls. Leave moisture-sensitive assembly and hot work until the appropriate time.
Choose a single pack when you are exploring a flavor or making one dish. Consider a larger pack when you already know how often you use it and where you will store it. The right quantity is the one that fits your actual plans.
Find the Honey Maid format for your next snack or dessert, then check the package label and the exact selected offer before ordering.